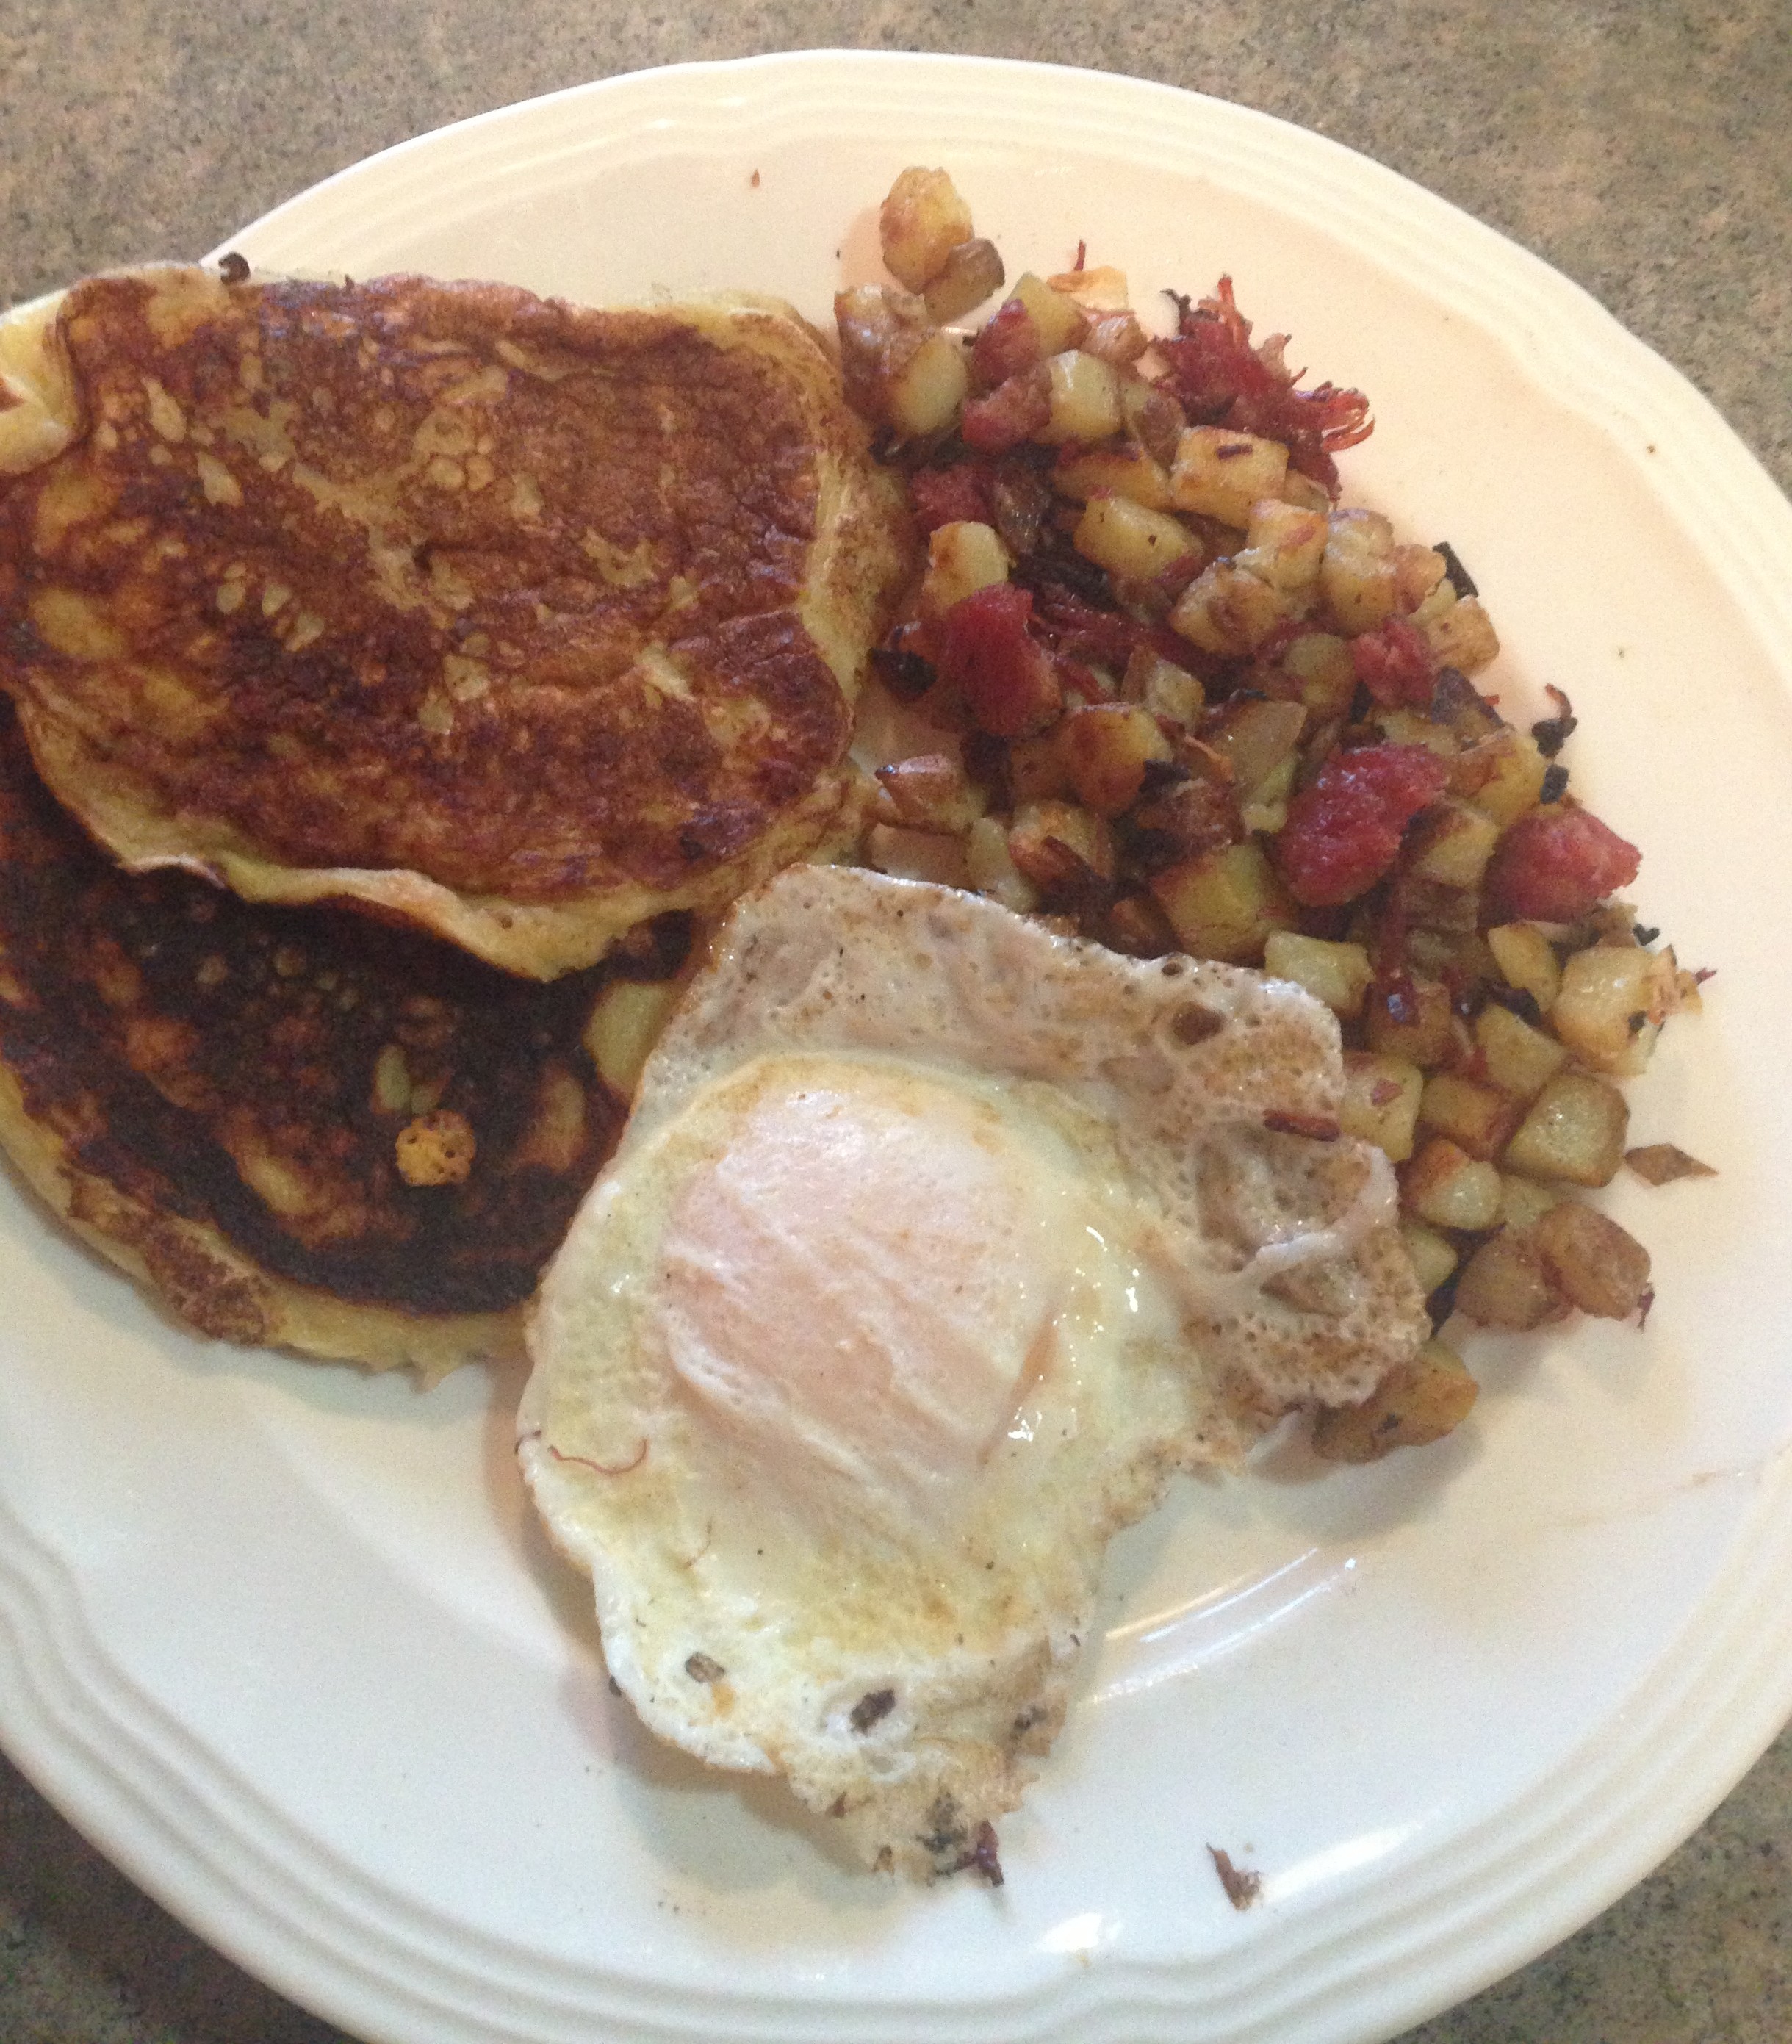
The one on the left has Blue cheese dressing the one on the right has Swiss cheese.
I was so impressed with tamaraleigh recipe that I had to try it the next day but I did not have the same ingredients so I improvised. I also wanted to experiment a bit and have a least one topped with Blue Cheeses dressing. I am glad I did! This is a tasty meal and actually it turned out much better then I expected! This is a keeper!
Ingredients
- 20 oz of boneless skinless chicken thighs
- 1 cup of plain bread crumbs
- 1 teaspoon of Basal
- 1 teaspoon of Oregano
- 1 teaspoon of Kosher salt
- Sliced Swiss Cheese – enough to top chicken
- About a tablespoon of Blue Cheese dressing – enough to top chicken
- Black Forest Ham thinly sliced – enough to top chicken
- Parsley – enough to pretty up your chicken
- Olive oil – enough to coat bottom of of oven proof skillet – I recommend cast iron!
The steps for building this meal are not difficult and don’t have to be to create a great tasting meal.
Steps to goodness!
- Move up the rack in your oven so when you put your skillet in the oven the top of the food will be about 5 or 6″ from the flame of the broiler. Turn on the broiler.
- Add Bread Crumbs, Basal, Oregano and Salt to a zip top bag. Mix it up a bit.
- Preheat your oven proof skillet to medium high heat with enough oil to just coat the bottom
- Put a few pieces of chicken at a time into the bag and shake to coat chicken
- Add chicken to the pan and cook 3-4 minutes on each side. Be sure not to burn the chicken it does have a breaded coating after all.
- Top each piece of chicken with a slice of ham
- Top each piece of chicken with either of the cheeses.
- Put the skilet into oven for a few minutes. You are looking to brown the cheese and toast the ham a bit
- Remove from the oven and sprinkle with Parsley
- Serve and enjoy you will!

A different view but the same applies, the one on the left has Blue cheese dressing the one on the right has Swiss cheese.